Katazome Step by Step


The first step in creating Japanese or Chinese style katazome is to cut a stencil. Traditionally paper has been used for this and in Japan a special paper known as shibugami is produced by laminating together layers of thin washi paper with kakishibu, or persimmon tannin dye. This strengthens the paper, darkens the color and makes it somewhat waterproof. The paper is also smoked to complete the waterproofing. I use this paper as well as the lighter modern shibugami that has a thin plastic film laminated within the washi to help make the paper and subsequent stencil more durable.
After drawing the design on the shibugami, the stencil can be cut with small craft knives or small Japanese punches made specifically for this purpose. After the stencil is cut it is lacquered to strengthen it further. If the design is very delicate you may also want to lacquer an extremely thin silk gauze on top of the stencil for added durability.
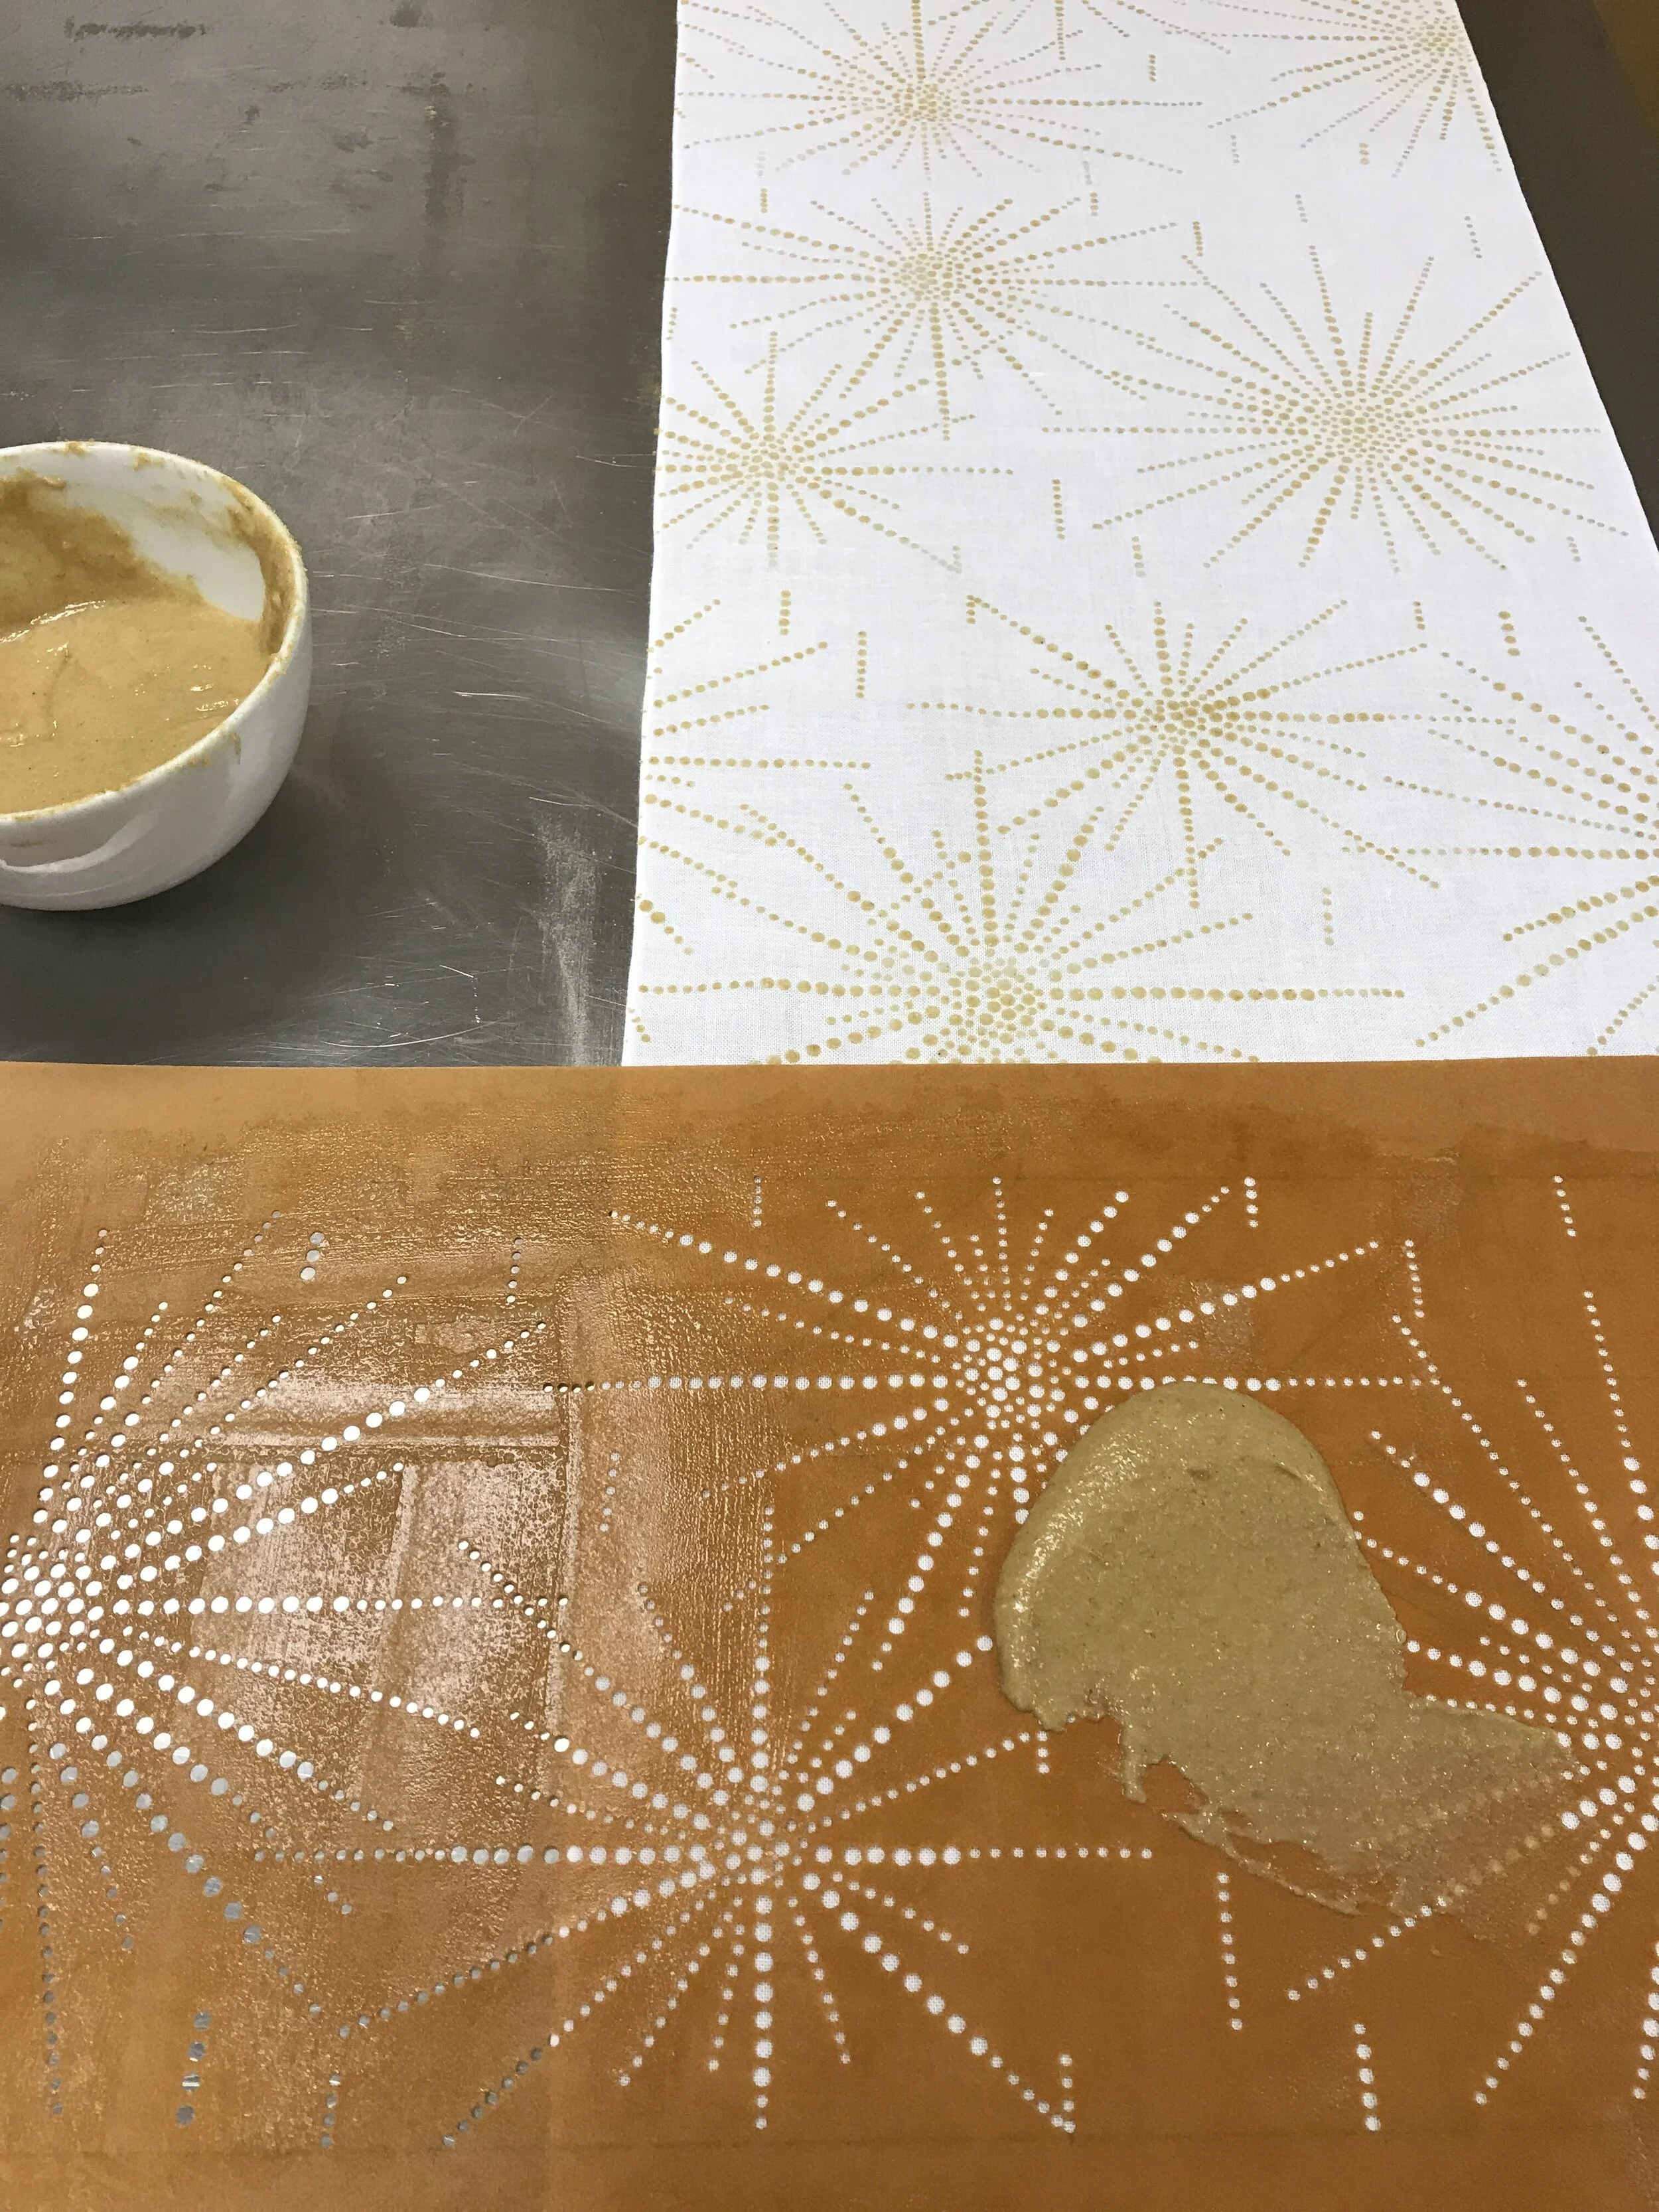
After the stencil is completed it can be used to apply the paste. I make pastes from glutinous rice flour cooked with lime and rice bran or with soybeans ground with lime and water. These pastes are extremely sticky and adhere to the surface of the fabric. This paste keeps the dye from reaching the fabric. Using wooden spatulas used for lacquerwork I push the paste through the stencil and onto the surface of the fabric. The paste needs to settle on the fabric until it reaches a semi dry stage.
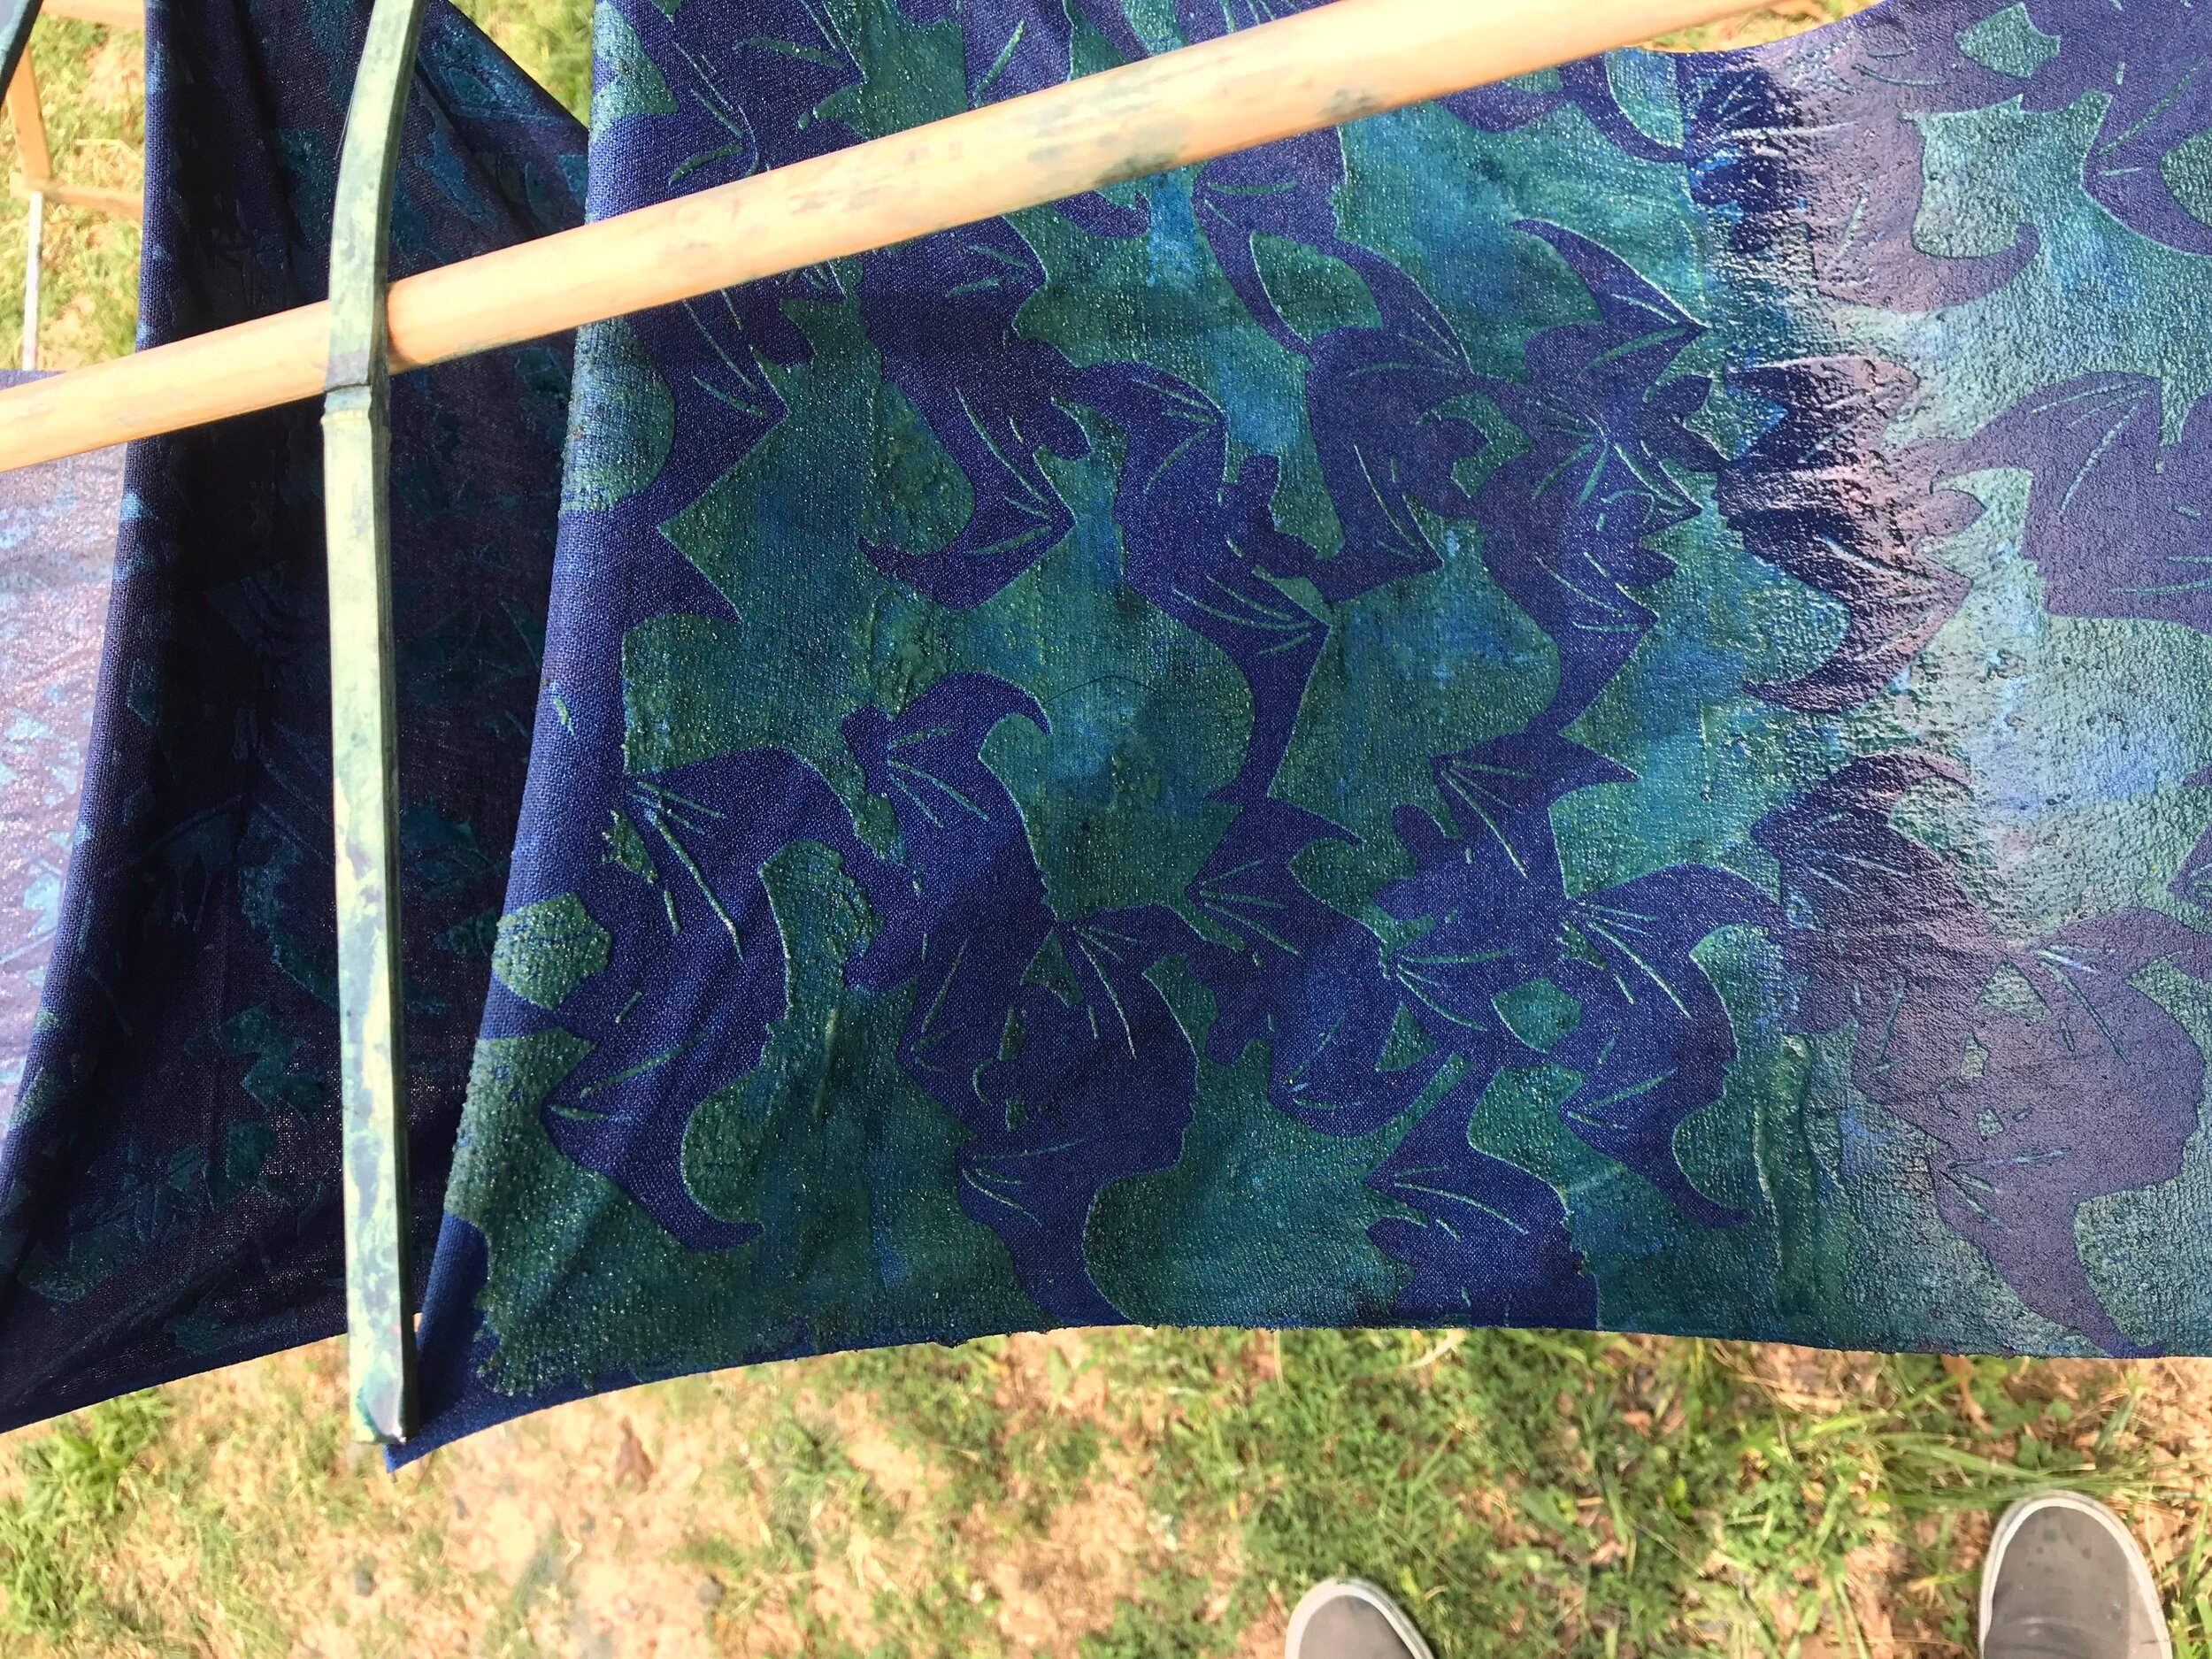
After the paste has begun to harden, but not crack, the fabric can be dyed in indigo. The fabric needs to dry between each immersion into the dye. I often dip textiles into the dye as many as 9 to 12 times to reach the desired color.