Katazome Step by Step
Katazome begins with the cutting of a stencil or katagami. This can be a slow process depending on the design. The katagami is cut from a special Japanese paper called shibugami. This paper is handmade from mulberry fiber before being coated with a dye called kakishibu, which is made from fermented green persimmons. After the application of kakishibu, the paper is then smoked over burning pine wood. The kakishibu and smoking process darkens the paper and also make it water resistant.
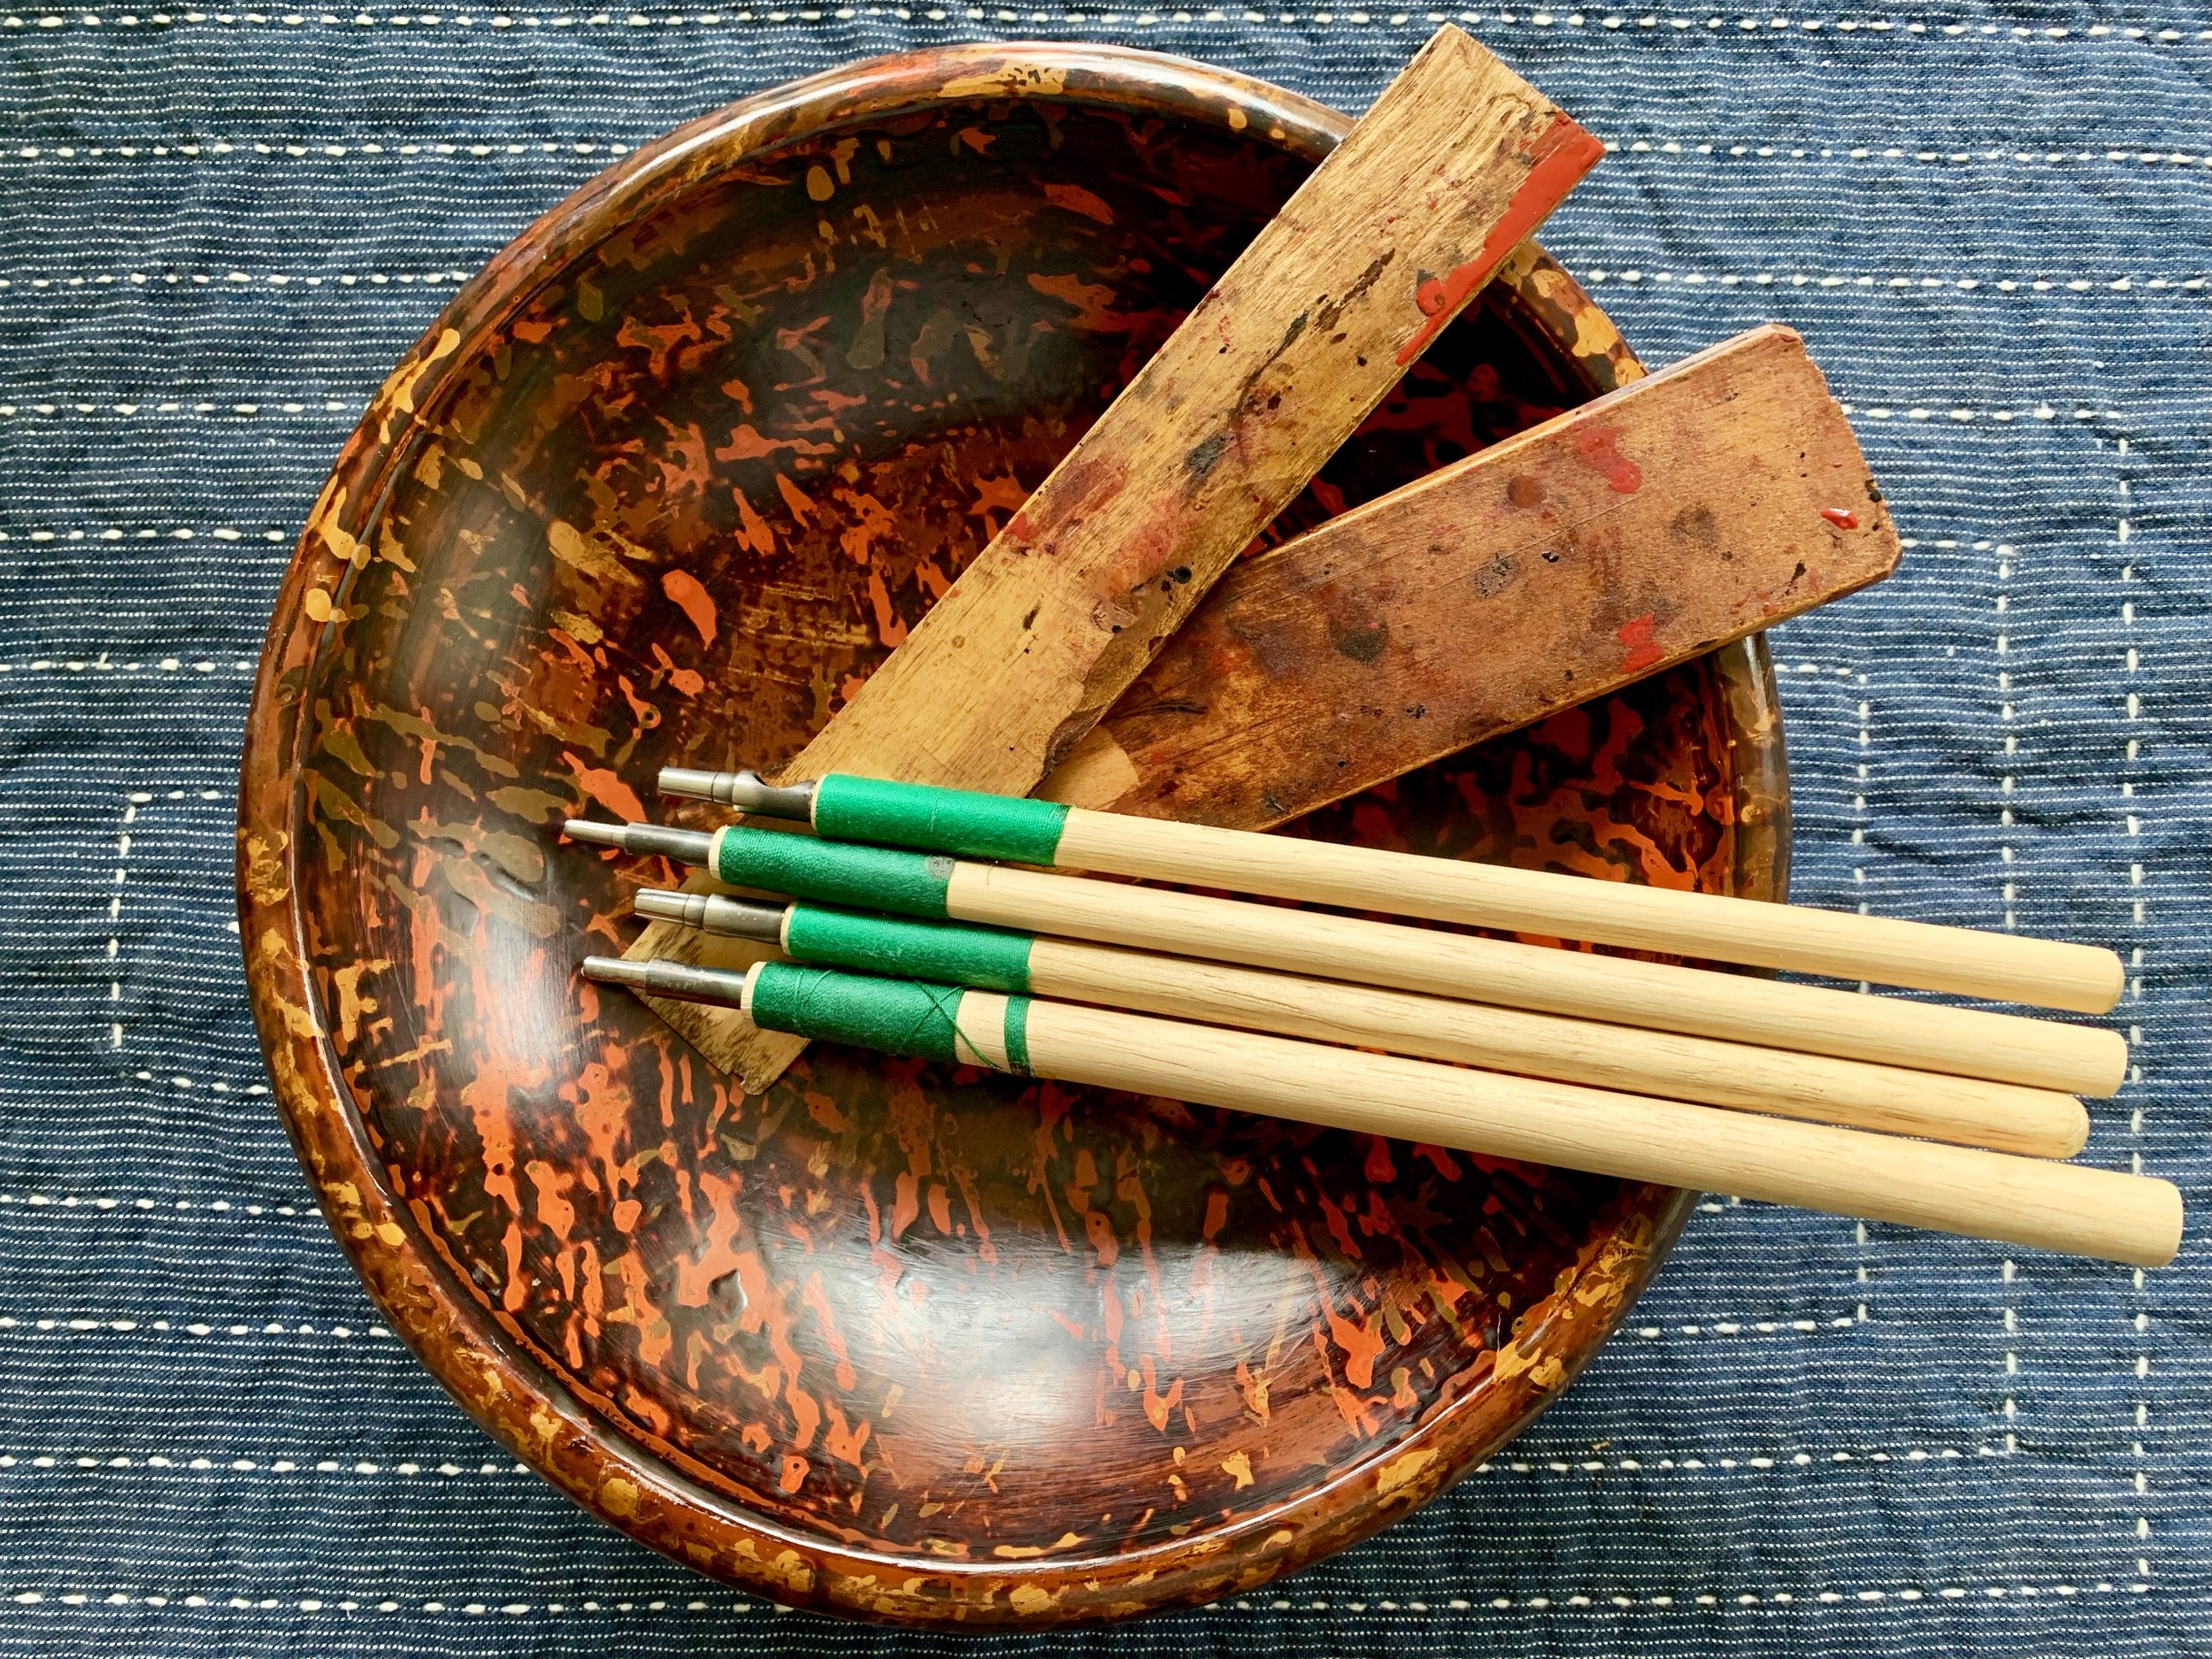
Punches like the ones above are used to cut the katagami. I like to use NT Cutter blades from Japan for the main stencil cutting.
When the stencil is complete, a resist paste is made. There are several recipes for resist pastes, the Japanese use a steamed and pounded mix of rice flour and rice bran, while the Chinese tended to use a paste made from soybean flour and slaked lime. I tend to use a mix of the two methods. My mix includes soybean flour, glutinous rice flour and lime.
This paste is then carefully pushed through the stencil and onto scoured fabric. The stencil is then removed reviling the resist design. The stencil can then be moved down the fabric to create a repeating pattern.
After the paste has been allowed to dry slightly, the fabric can be dyed. The fabric is slowly dipped up to ten times in an indigo dye bath. After each dip in the Indigo the fabric needs to be exposed to the air for about ten minutes to allow the indigo to oxidize and turn blue. In the photo above you can see the deep blue of the oxidized indigo and the slightly green color of the resist paste.
After the dying is completed, it is left to dry before being soaked in repeated changes of water. This sets the indigo and softens the resist paste. After washing the image made by the resist becomes bright white.


